Enhancing your outdoor spaces with landscape lighting not only boosts your home's aesthetic appeal but also increases its safety. This comprehensive guide takes you through each phase of the installation process, from the initial planning stages to the final touches, ensuring that your lighting is both beautiful and functional. We emphasize the use of high-quality light fixtures from Americana Outdoor Lighting to achieve the best results.
Identifying Your Power Source
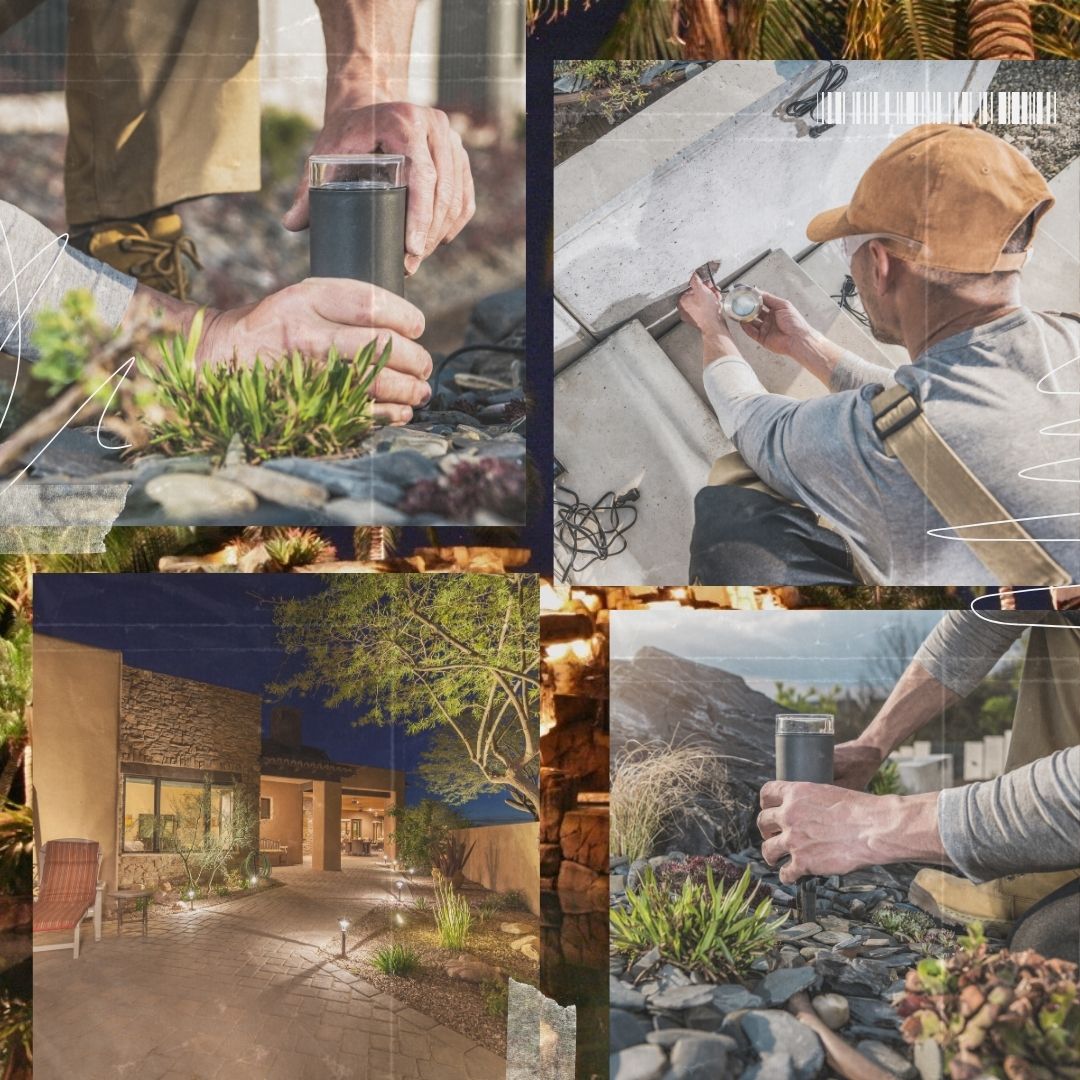
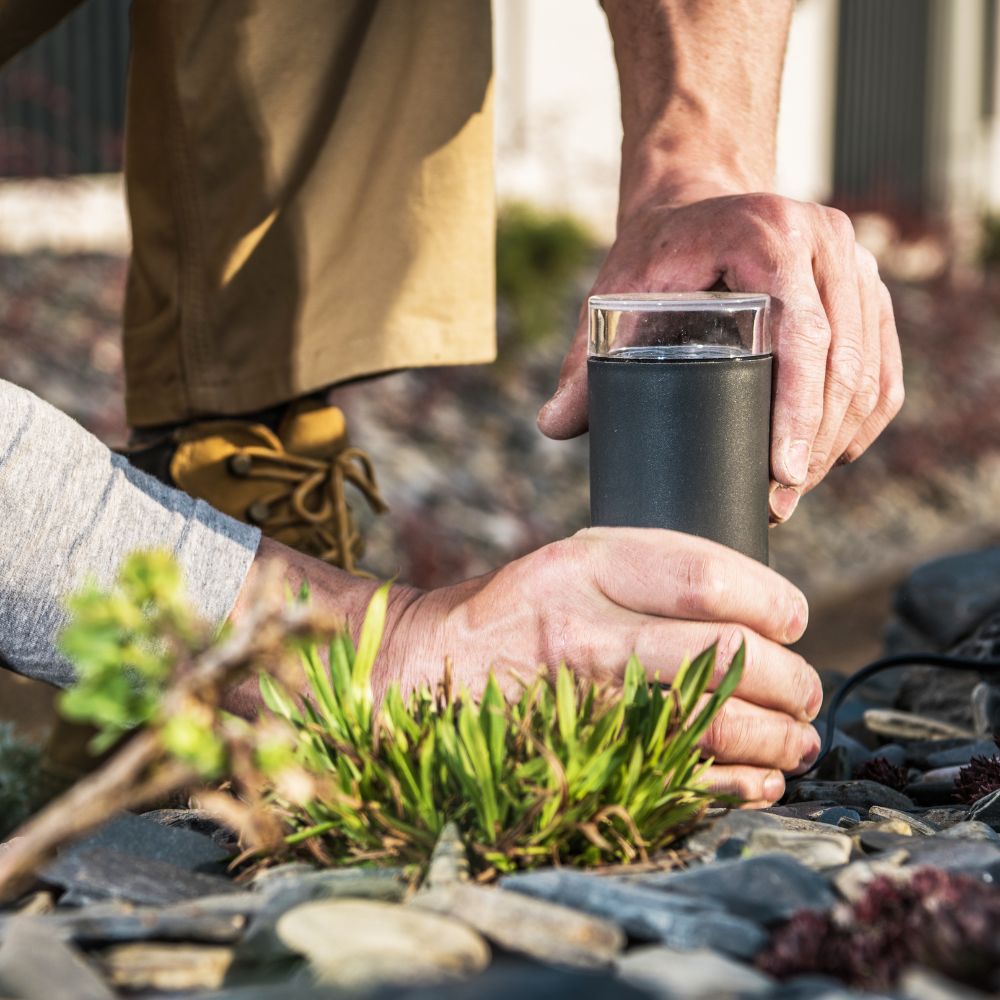
The journey to illuminating your garden begins by locating the nearest power source. This often involves a receptacle that will support the transformer, setting the stage for your entire lighting setup. After pinpointing the power source, strategically arrange your lights to enhance walkways or accentuate unique garden features, creating a welcoming and well-lit outdoor environment.
Laying Low Voltage Cable
Choosing a low-voltage cable is crucial for safe and effective landscape lighting. These cables carry a reduced risk; even if severed, they pose no significant danger. Lay out the cable along your planned route but refrain from burying it immediately. This ensures that you have the flexibility to adjust the layout as needed to perfectly contour the illuminated areas of your landscape.
Establishing Connections
To ensure durability and reliability in your lighting setup, opt for superior brass connectors over more common plastic alternatives, which tend to succumb to damage and corrosion. Begin by cutting and stripping the wires, then use an allen key to secure the connections within the brass barrels. Cover these with heat shrink sleeves and apply mild heat to form a waterproof seal, safeguarding your system against environmental elements.
Setting Up the Transformer
The low-voltage transformer plays a pivotal role, converting high voltage electricity into the low voltage that landscape lights require. Wire the system by attaching one cable to the hot terminal and the other to the common terminal. For automated lighting that adapts to natural light conditions, integrate a photocell to have your lights activate at dusk and deactivate at dawn, or pair it with a timer to customize lighting durations.
Excavating Cable Pathways
Use a flat-edged shovel to create a six-inch deep trench along your designated cable route, ensuring the wire is both shielded and easily accessible for future adjustments. Secure the cable with landscaping u-staples to anchor it firmly in place, preventing shifting due to soil movement over time.
Testing and Burying the Cables
With all connections securely made and the layout finalized, embed the cable at the bottom of your trench. Provide some slack at each fixture to accommodate future landscape changes or adjustments. Once the cable is buried, perform a thorough test of the system to confirm that all components are functioning correctly.
Maintenance and Longevity
To enhance the resilience of your connections, apply dielectric grease to each one, further protecting against moisture. Regularly inspect your installation for signs of wear or damage, addressing any issues promptly to prevent extensive repairs down the line. This proactive maintenance ensures that your landscape lighting remains a reliable and enchanting feature of your outdoor space.
By following these steps and selecting premium outdoor light fixtures from Americana Outdoor Lighting, you are setting up a landscape lighting system that not only adds charm and security to your property but also stands the test of time. This project not only increases the curb appeal of your home but also extends your living space into the outdoors, making it a valuable addition to any property.