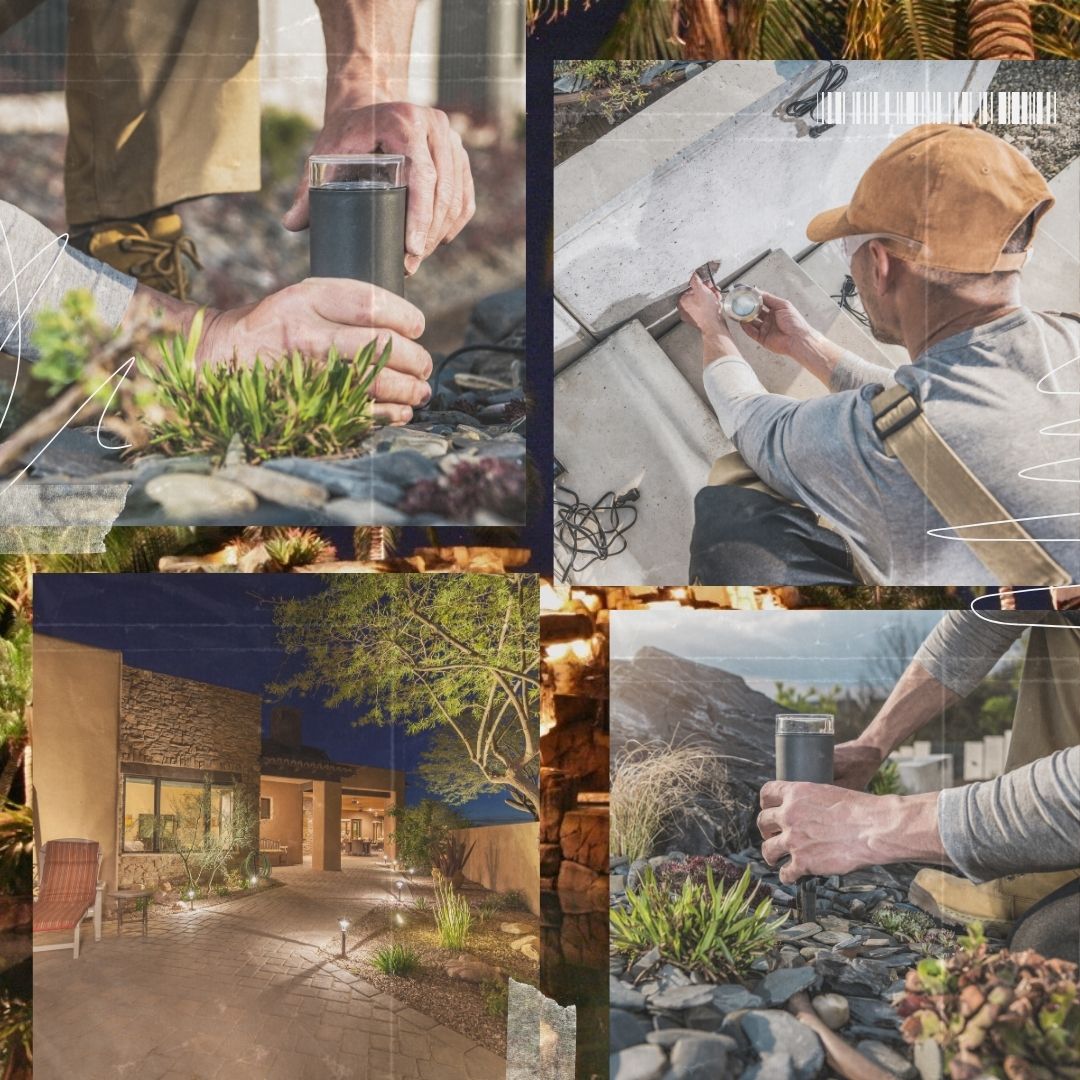
Installing an exterior light can transform the ambiance and security of your home's outdoor spaces. This comprehensive guide dives into each step of the process, ensuring your outdoor lighting system not only looks professional but is built to last, safely and efficiently.
Establishing a Solid Foundation
The cornerstone of a flawless installation lies in the foundation. It’s essential that your light fixture is mounted on a flat and stable surface. This approach not only secures the fixture physically but also optimizes the effectiveness of the fixture's gasket to seal out moisture and debris, preserving the integrity of your electrical connections.
When dealing with surfaces like vinyl siding, it might be beneficial to detach the mounting block temporarily. This allows for a more precise cutout or adjustment, ensuring the wiring entry is perfectly aligned, which enhances the overall stability and safety of the installation. Explore a variety of suitable fixtures at Americana Outdoor Lighting.
Importance of Proper Housing
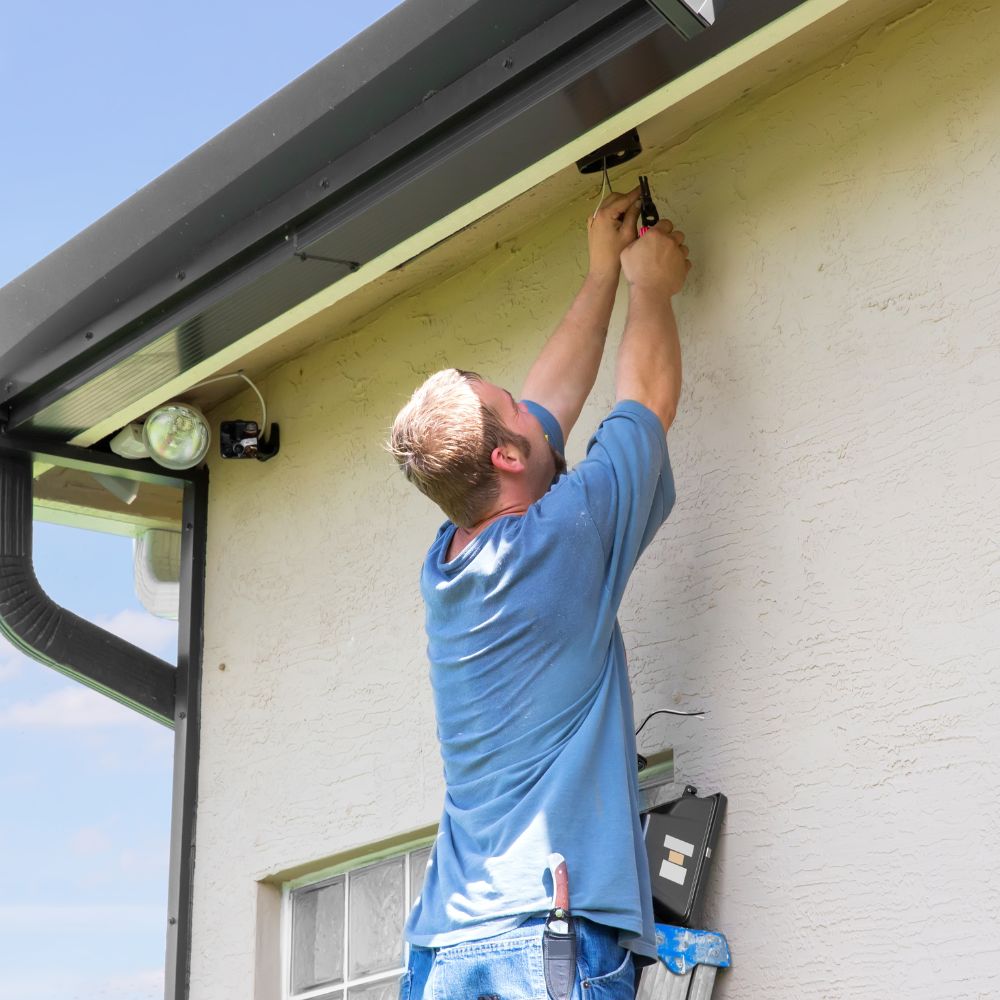
A common pitfall in many DIY electrical projects is the omission of a junction box. Encasing all electrical connections within a dedicated junction box is not just a best practice—it’s a critical requirement. This containment is crucial for preventing sparks or fires from escaping into potentially flammable areas.
To avoid abrasion and potential shorts, ensure that all wires entering a metal junction box are safeguarded by an appropriate cable connector. This small addition acts as strain relief and preserves the integrity of your wiring.
Ensuring Full Protection and Sealing
To achieve optimal protection, verify that the protective sheathing of your wires extends at least 1/4 inch inside the junction box. If the sheathing is too short, the risk of exposed wires necessitates a complete wire replacement to meet safety codes.
In environments exposed to weather, using wire nuts with integrated moisture-resistant sealants can significantly enhance the longevity of your connections. For fixtures lacking a built-in gasket, crafting a custom seal from clear tubing, cut lengthwise and fitted around the fixture’s edge, can effectively block moisture ingress.
Deep Box Installation and Weatherproofing Techniques
Utilizing a deeper electrical box can be a game-changer in ensuring that the mounting screws fully engage without bottoming out, thus pulling the fixture snugly against the wall. If adjustments are needed to accommodate such a box, consider cutting back the vinyl siding behind the box to create a flush surface.
Although caulking around the top half of the fixture might seem like a thorough safeguard against water ingress, it’s often unnecessary if there’s an overhang. However, if applied, ensure the bottom remains unsealed to allow for water drainage, preserving the fixture's integrity.
Final Installation Tips and Maintenance
Before initiating any work, disconnect power at the circuit breaker to mitigate the risk of electrical shock. Upon completion, a thorough testing of the fixture is crucial to confirm that all connections are secure and functional. Regular maintenance checks are indispensable for early detection of wear or damage, which can prevent costly repairs and ensure continuous safety and functionality.
Approaching your outdoor lighting project with diligence and attention to detail can significantly enhance both the aesthetic and safety of your home.
Whether you choose to undertake this project yourself or consult a professional light installer, staying informed and opting for high-quality products like those from Americana Outdoor Lighting ensures a successful installation. Remember, even the most straightforward projects benefit from careful planning and execution.