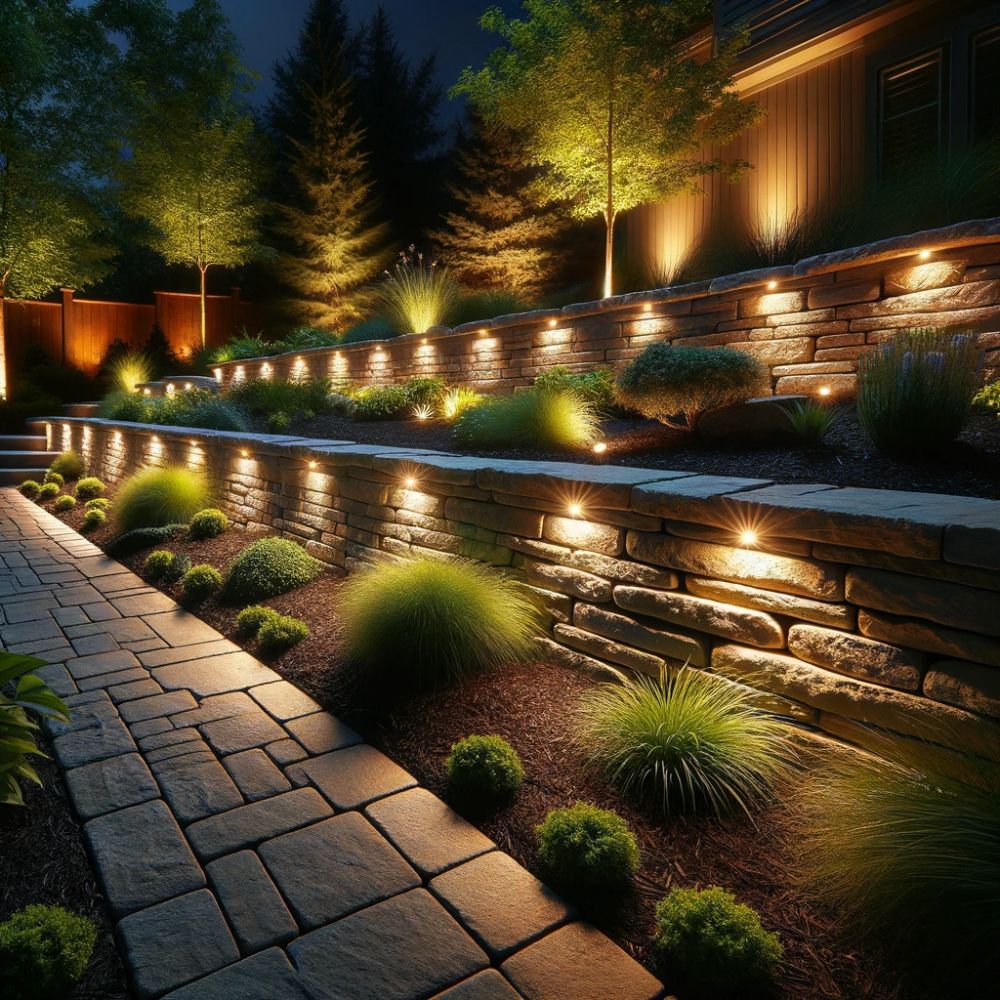
Hardscape lighting plays a crucial role in outdoor landscape design by providing both functional illumination and enhancing aesthetic appeal. These lights are specifically designed to blend into structured environments, such as patios, steps, and retaining walls, without being obtrusive. They are commonly used to highlight the textural details of stonework or to guide pathways, enhancing safety after dark.
The durability of hardscape lights, especially models from Americana Outdoor Lighting, which are often constructed from high-grade unweatherable materials, ensures longevity and resistance to weather elements.
Tools and Materials Needed
Properly installing hardscape lights requires gathering the right tools and materials — which will make your job much easier.
- Tape Measure and Sharpie: Essential for accurate placement and marking where each light will go.
- Masonry Chisel and Hammer: These are used for carefully removing stones or capstones without damaging them.
- Angle Grinder with a Diamond-Tipped Blade: Crucial for creating precise cuts in stone to accommodate wiring or the light fixtures themselves.
- Masonry Anchors and Screws: These provide a secure mount for the lights, ensuring they stay in place against the elements.
- Hammer Drill with a Masonry Bit: Used for drilling holes for the masonry screws.
- Block Adhesive and Caulking Gun: Needed for securing stones or pavers back into place after installation to ensure a clean, professional finish.
Installation Steps for a Retaining Wall with Dirt Behind It
- Measure and Mark: Planning the layout is critical. Spacing the lights evenly, typically every 6 to 7 feet, ensures balanced illumination.
- Chisel Out the Capstone: Removing the capstone carefully to place the light without disturbing the integrity of the wall.
- Prepare the Fixture Placement: Once the capstone is removed, placing the light fixture and marking the required area on the wall for the wiring ensures that everything aligns perfectly when the fixture is installed.
- Cut the Channel: The angle grinder is used to create a groove in the stone. This groove must be deep enough to allow the wires to sit flush beneath the capstone.
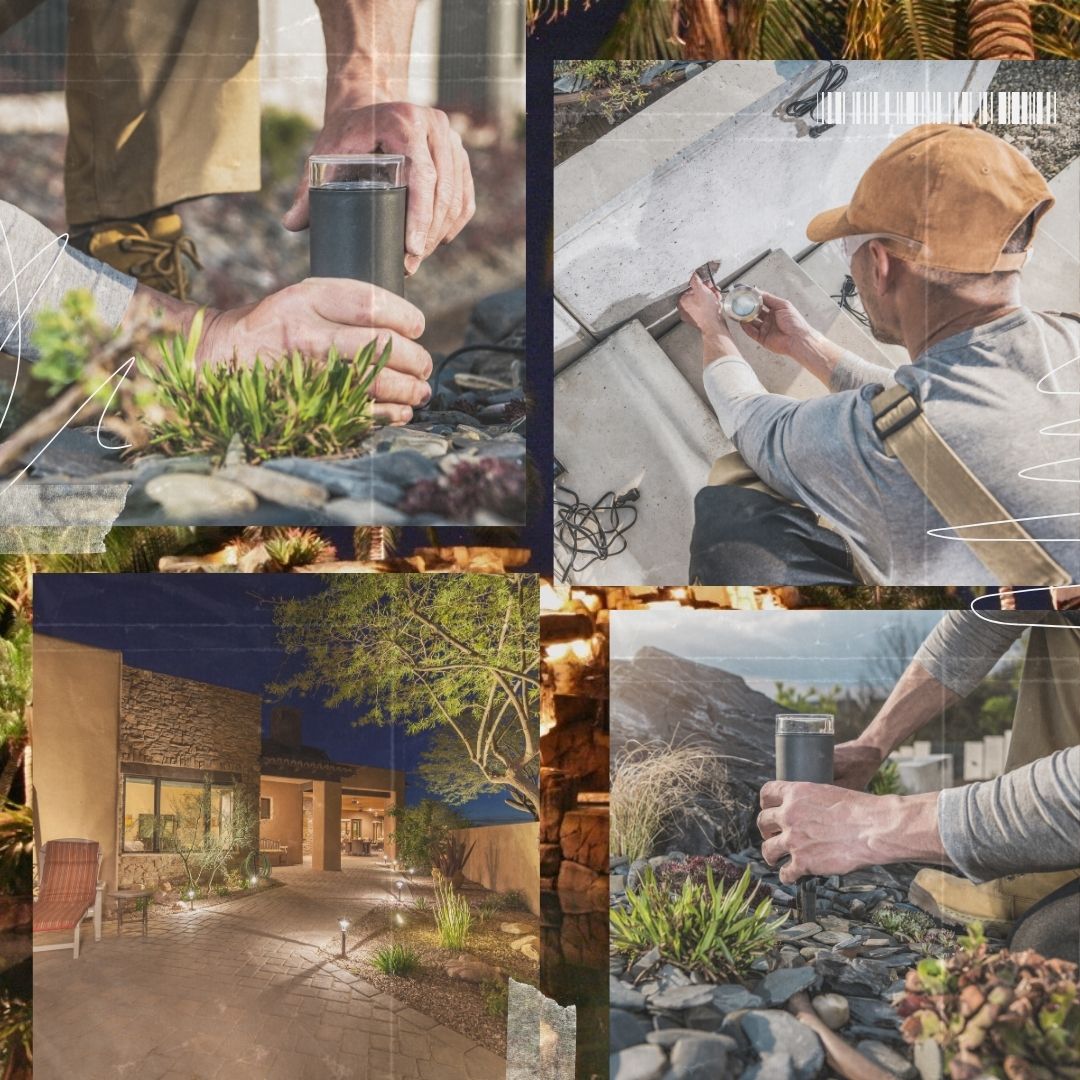
- Install the Fixture: The light fixture is positioned, and the protective brass tube is inserted. The fixture is then secured with masonry anchors and screws, or alternatively, block adhesive can be used for a less invasive installation.
- Finalize Installation: The wires are laid into the channel, and electrical connections are made. Waterproof connectors are recommended to prevent moisture ingress. The capstone is then reattached using block adhesive, ensuring it sits flush and stable.
Installing in a Free-Standing Wall
When dealing with a freestanding wall, the approach adjusts slightly:
- Mark and Cut for Fixture: Similar steps are followed for marking and cutting, but only halfway through the stone since access is possible from both sides.
- Prepare the Wiring Groove: The groove is ground out to accommodate the wiring, ensuring it remains concealed and protected.
- Connect and Seal: Electrical connections are made within the wall cavity using heat-shrink tubing for a watertight seal, crucial for outdoor durability. The capstone is replaced and secured with adhesive.
Finishing Touches
Testing the entire system to ensure all connections are secure and the lights function as intended is crucial. Adjustments might be needed to optimize the lighting angles or fixture positions.
Enhancing Your Landscape with Americana Outdoor Lighting
Opting for Americana Outdoor Lighting not only assures durability but also ensures that each lighting fixture adds to the beauty and functionality of your outdoor space. Suitable for both DIY enthusiasts and professional installers,